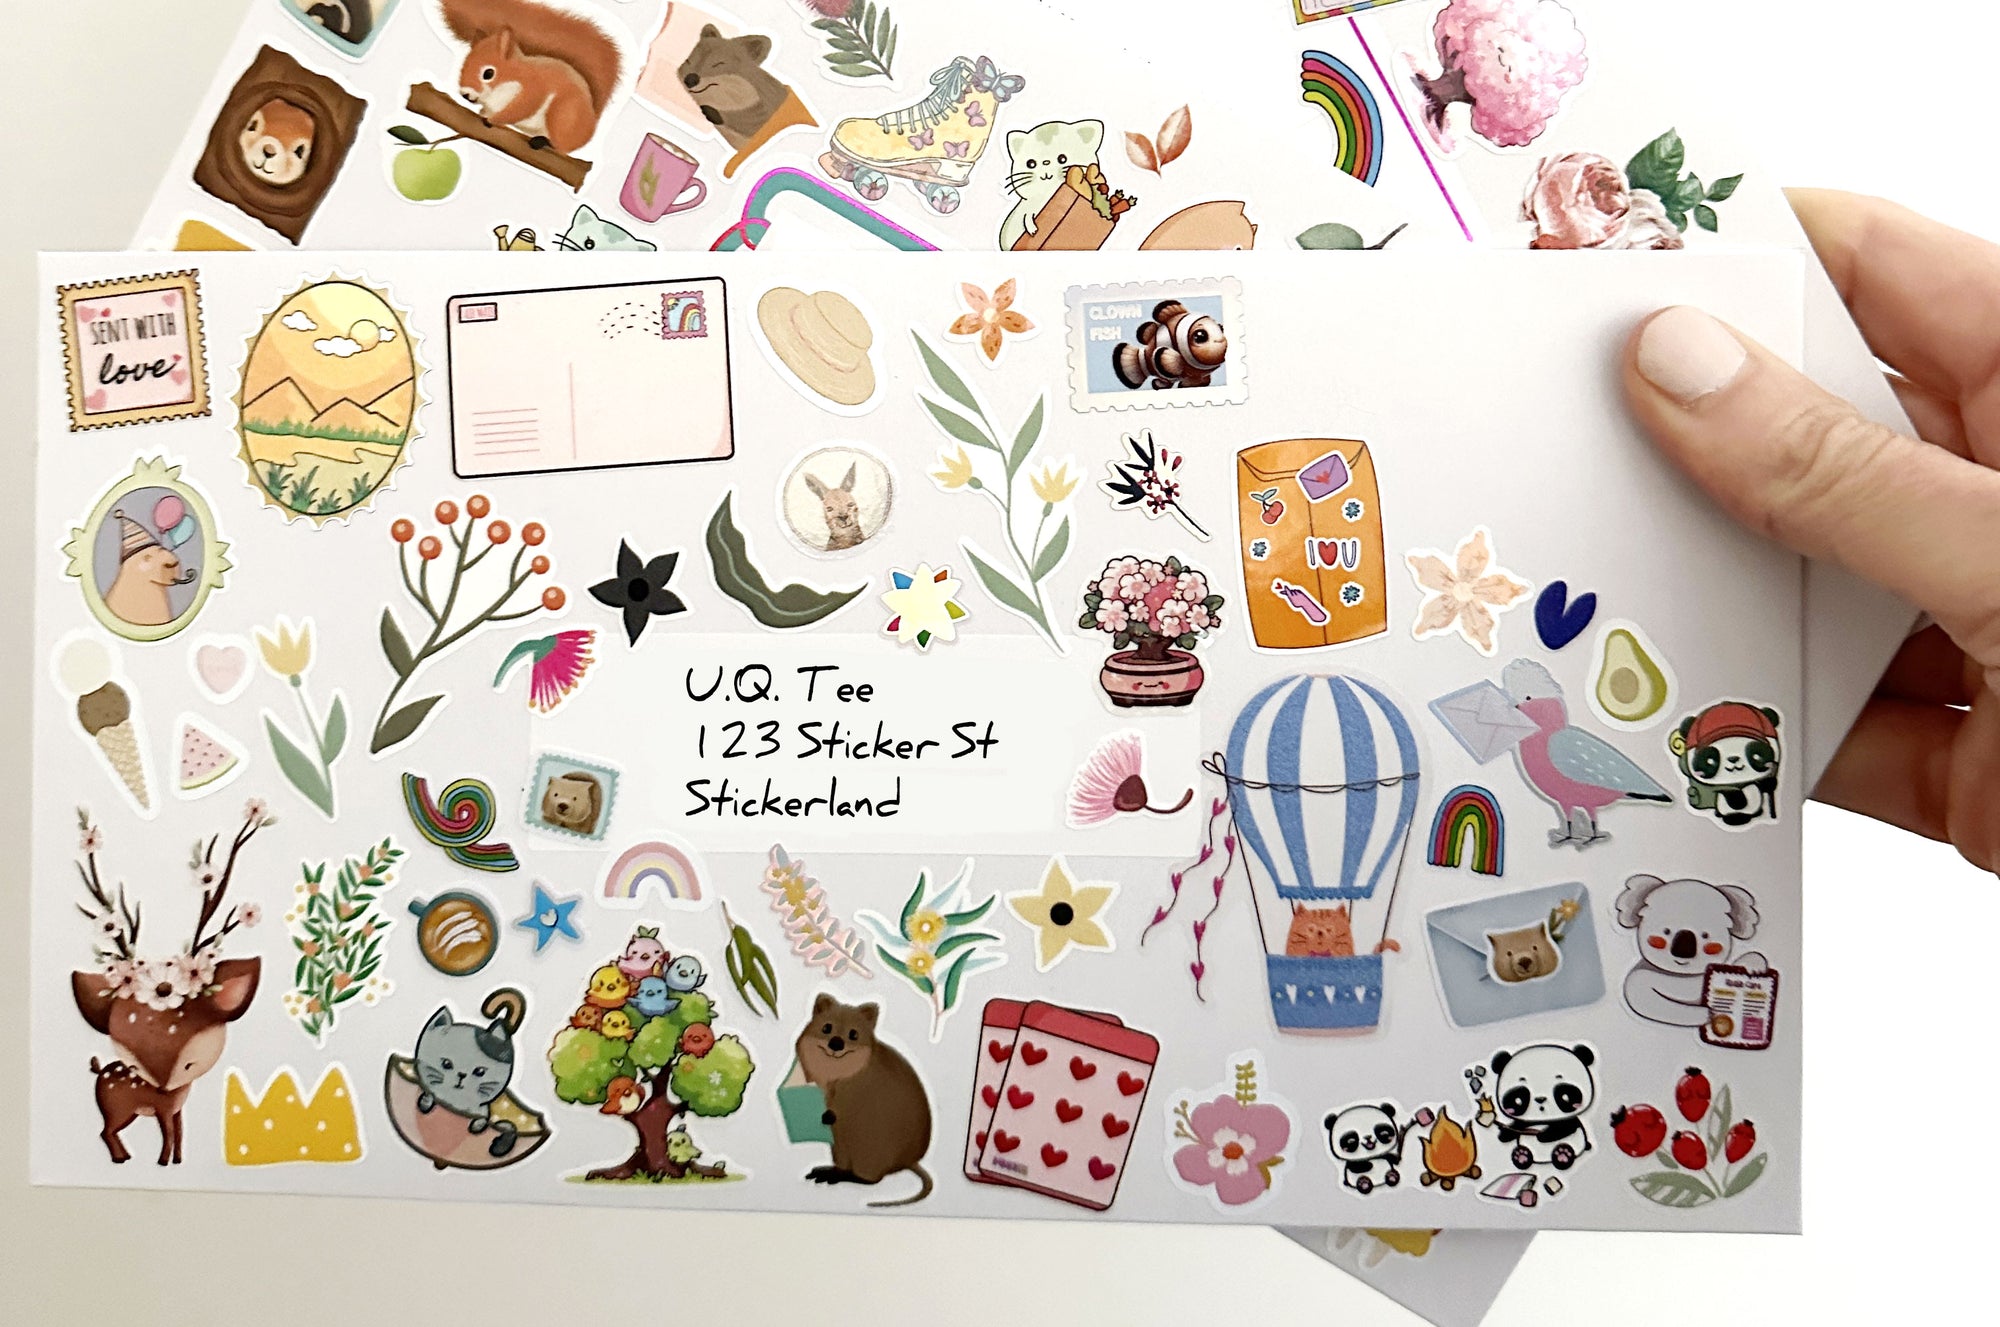


Create Pockets for Your Happy Mail

Level up your happy mail with these sweet pockets.
Level up your happy mail experience with these adorable pockets.
These pockets are incredibly versatile, allowing you to create them to fit anything from sticker flakes to entire sticker sheets.
To make them, you'll need some coloured cards, scissors, a pencil, a ruler, a scoring tool, glue or double-sided sticky tape, and decorative stickers. We also used a coin or washi tape role to be used as a guide to help create rounded edges.
Follow these easy steps or watch the video at the bottom to create your unique pockets.
- To gauge the size of your pocket, select the stickers and envelope you want to send in your happy mail.
- Based on your selection, measure out a square or rectangle to create the back of the pocket and cut it to size.
- To create the front storage space, you'll want to make it a few centimetres shorter at the top but about an extra 5mm wide on the sides and bottom. Measure out the size, then cut out.
- With the extra overhang on the front pockets, score a line to help create an easy fold. After scoring, fold in the edges.
- You can optionally make a lip on the front card by drawing a shape with a coin or something circular and cutting it out.
- Apply glue or double-sided sticky tape to the folded edges and place them on the backing card, lining up the sides and bottom.
- You now have your pocket! To make smooth corners, you can use a coin or washi tape to create an arc on the top edges of the backing pocket.
- Finish off your pocket by decorating with stickers!

Check out this video below for a guide.